Pro Wedding Editing Photos in 6 Easy Steps
Editing wedding photos is so much more than just slapping on a filter. It's a craft—a detailed process that turns thousands of raw, candid moments into a beautiful, cohesive story. It all starts with culling to find the gems, moves into color grading to create your signature look, and ends with retouching to polish those key portraits before you hit 'deliver.'
Building Your Foundation for Flawless Edits
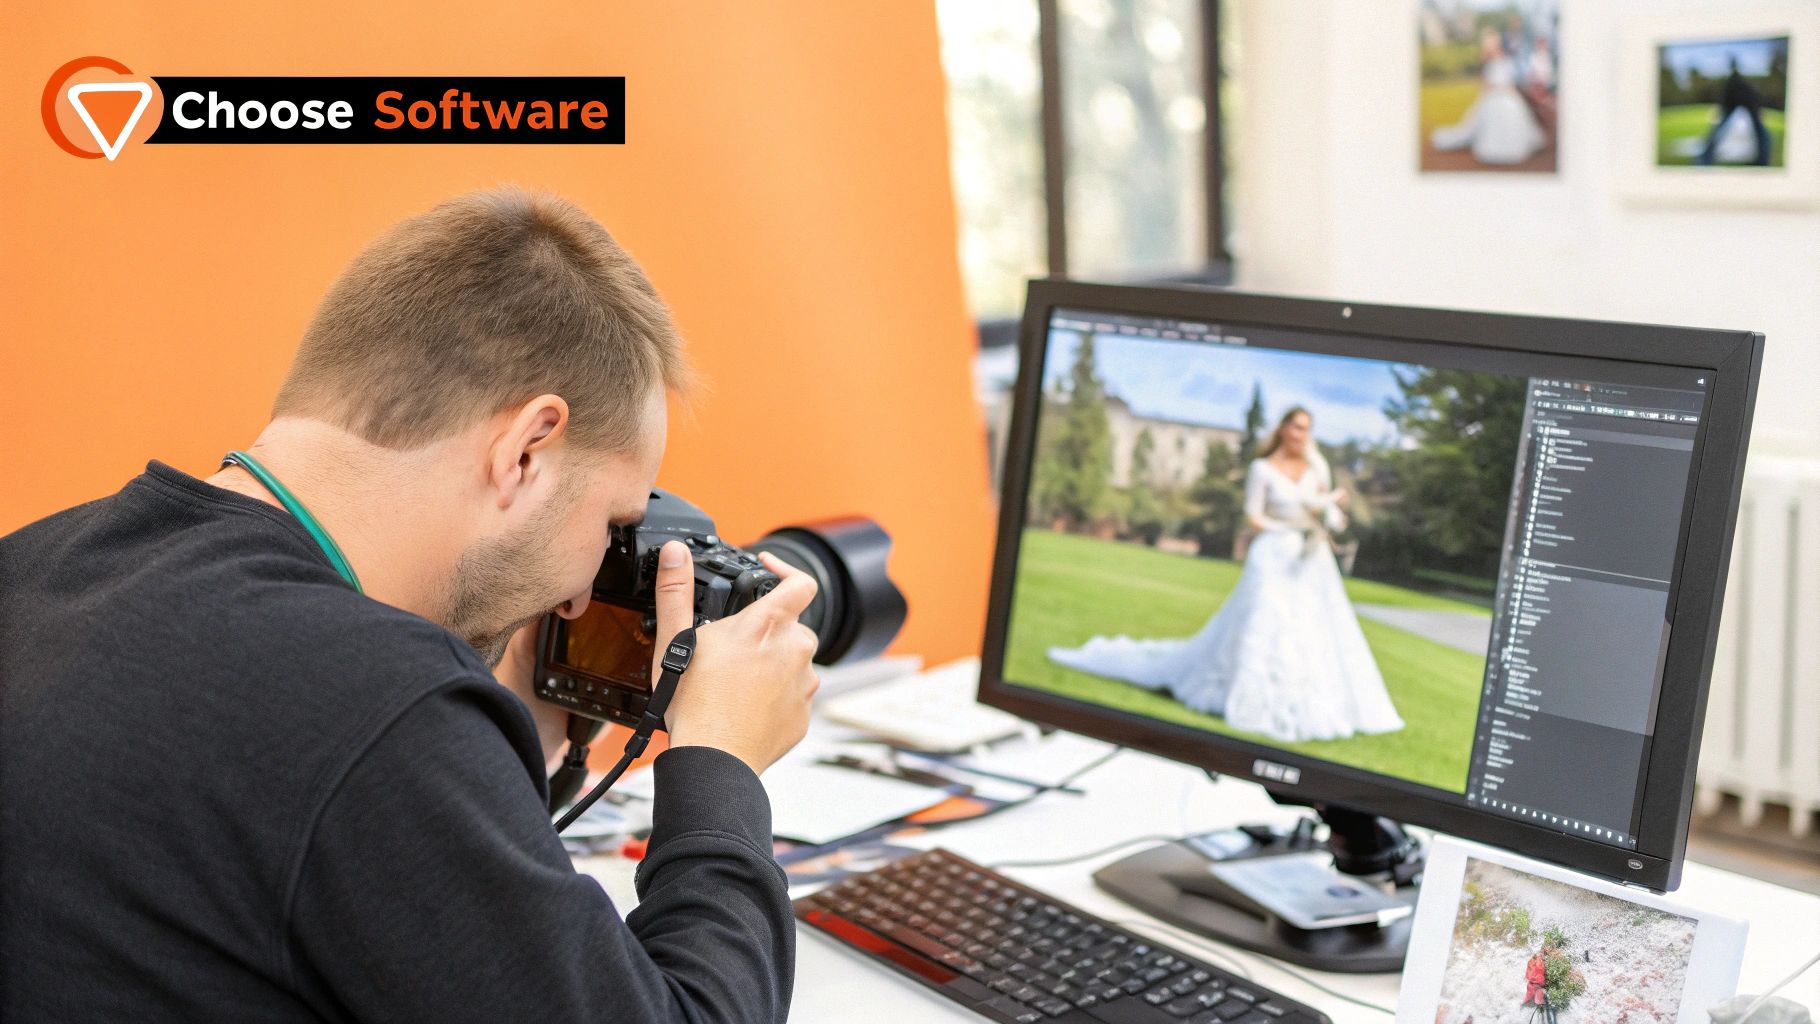
Before you can even think about those dreamy color grades or detailed skin retouching, you have to lay the groundwork. This is the prep stage. Honestly, it's where the real work begins, sorting through a mountain of images to unearth the absolute best shots that will tell the couple's story.
This first crucial step is called culling. It’s less about artistic flair and more about being decisive. You're on the hunt for genuine emotion, sharp focus, and strong compositions, while tossing out the duplicates, blurry shots, and those inevitable half-blinks. Get good at this, and you'll save yourself countless hours later and deliver a gallery that truly packs a punch.
This is a great visual breakdown of the whole process.
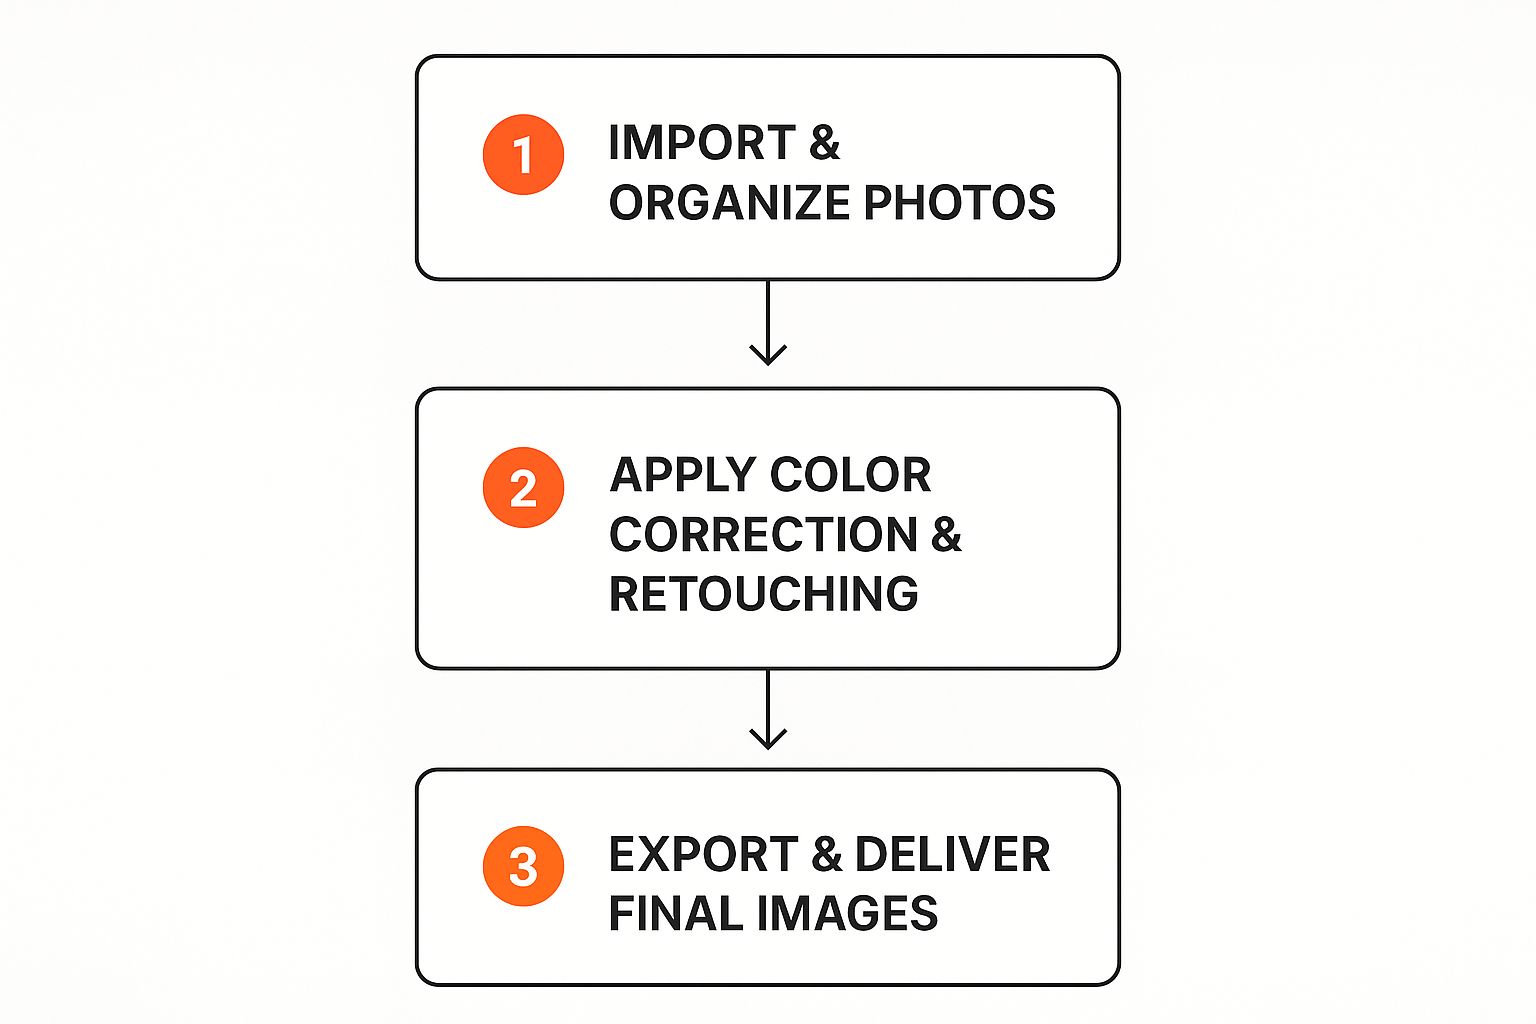
It really shows how editing is a structured journey, not just a single click.
A Methodical Approach Is Non-Negotiable
For any pro, having a system for culling and organizing is everything. Without one, you're just inviting chaos, feeling overwhelmed, and delivering a final gallery that feels inconsistent. The demand for great wedding photography is only getting bigger—the market is expected to be worth around USD 5 billion by 2025. This just proves that photographers need efficient, professional workflows to keep up and make clients happy.
A strong culling process is the unsung hero of wedding photo editing. It’s what allows you to tell a compelling story without overwhelming the couple with near-identical images.
To help you get started with this critical first step, here’s a look at the core criteria I use to cull a wedding gallery. Focusing on these elements makes the selection process faster and much more effective.
Core Wedding Photo Culling Criteria
| Criteria | What to Look For | Why It Matters |
|---|---|---|
| Emotion & Story | Genuine laughter, tears, candid interactions. Does the photo move the story forward? | These are the images clients connect with most deeply. A technically perfect photo with no emotion is just a snapshot. |
| Focus & Sharpness | Crisp focus on the intended subject (eyes, hands, details). No motion blur unless intentional. | Out-of-focus images are almost always unusable. It's a fundamental sign of technical quality. |
| Composition & Framing | Leading lines, rule of thirds, clean backgrounds without distractions. | Good composition guides the viewer's eye and makes the image more visually appealing and professional. |
| Lighting & Exposure | Well-exposed subjects, no blown-out highlights or crushed blacks that can't be recovered. | While you can fix a lot in post, a poorly exposed image will have less detail and color information to work with. |
| Redundancy | Near-identical shots from a burst sequence. Pick the single best one. | Delivering too many similar photos dilutes the impact of the gallery and makes more work for you and the client. |
Once you’ve nailed down your criteria, the whole process becomes second nature. You learn to trust your gut and make decisions quickly, which is key to a sustainable workflow.
If you want to dive deeper into the basics, here’s a great resource on how to edit photos for stunning results. While it's not wedding-specific, the core principles of what makes a powerful image are universal.
The software you use also plays a huge role in how efficient you are. Finding the right tool from the start helps you build good habits and a faster workflow. For photographers just starting out, our beginner's guide to wedding photo editing software is a great place to compare the top options. By building this solid foundation, you set yourself up for a much more creative and enjoyable editing experience down the line.
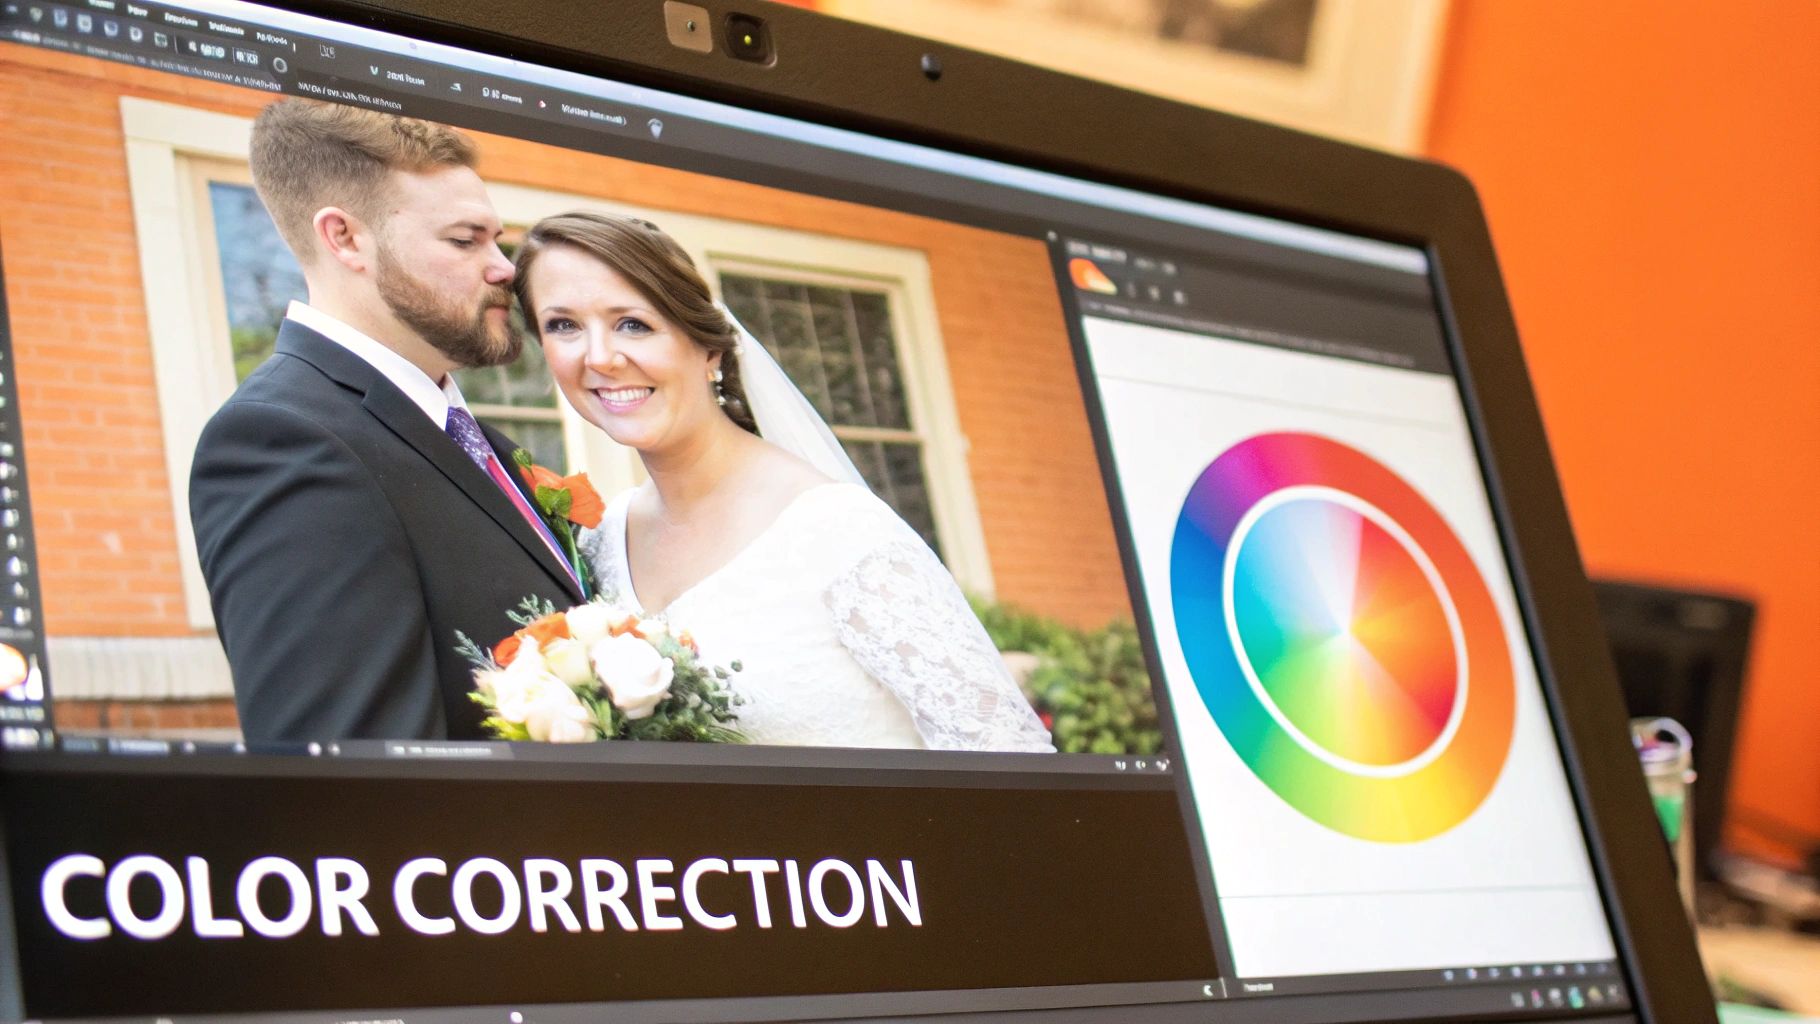
Crafting a Signature Color Grading Style
Once you've culled your images down to the absolute keepers, the real artistry begins. This is where you breathe life, emotion, and personality into the gallery. Color grading is your chance to develop a signature style—the kind of look that makes your work instantly recognizable and ties the entire wedding story together.
This goes way beyond slapping a generic preset on everything and calling it a day. It’s about diving deep into color theory, mastering your tools like the temperature sliders, HSL panels, and split toning to build a specific mood. Whether you're aiming for a light and airy vibe, a dark and dramatic feel, or something timeless and true-to-life, your color choices are everything.
The ultimate goal is to create a look that's not just beautiful but repeatable. You want a photo from the first mimosa of the day to feel like it belongs with the last dance, even if the lighting was completely different.
Unifying Different Lighting Conditions
A wedding day is a total marathon of changing light. Think about it. You go from soft, beautiful window light during prep, to harsh midday sun for portraits, and then into the absolute chaos of reception lighting—a messy mix of DJ strobes, warm tungsten lamps, and your own flash. Making these wildly different scenes feel cohesive is what separates the pros from the amateurs.
Your signature style is the thread that ties it all together. Let's say your style leans toward warm, earthy tones:
- Bridal Prep: You’d probably enhance the natural warmth of the window light, gently lifting shadows to keep the vibe soft and intimate.
- Outdoor Portraits: Here's where you'd tame those sometimes-electric greens in the foliage, shifting them toward more muted, olive hues that fit your palette.
- Reception: In mixed lighting, the job is to neutralize distracting color casts. This could mean using targeted adjustments to cool down super orange tungsten lights while making sure skin tones stay natural and warm.
A photographer's editing style isn't just a filter; it's a deliberate artistic choice. Many professionals spend years refining their look, and it becomes a crucial part of their brand identity. It's why a client chooses you over someone else.
Building Your Style from Scratch
Developing a unique color grade doesn't happen overnight. It’s a process. It starts with inspiration but gets solidified through endless practice and experimentation.
Start by really looking at work you admire. What specifically do you love about it? Is it the creamy, muted highlights? The specific shade of green in the trees? The way skin tones are rendered?
Then, get your hands dirty in your editing software. Instead of just clicking through presets, start moving the sliders yourself. The Tone Curve is easily your most powerful tool for controlling contrast and overall mood. The HSL panel gives you almost surgical control over individual colors, letting you tweak every single part of your image until it’s perfect.
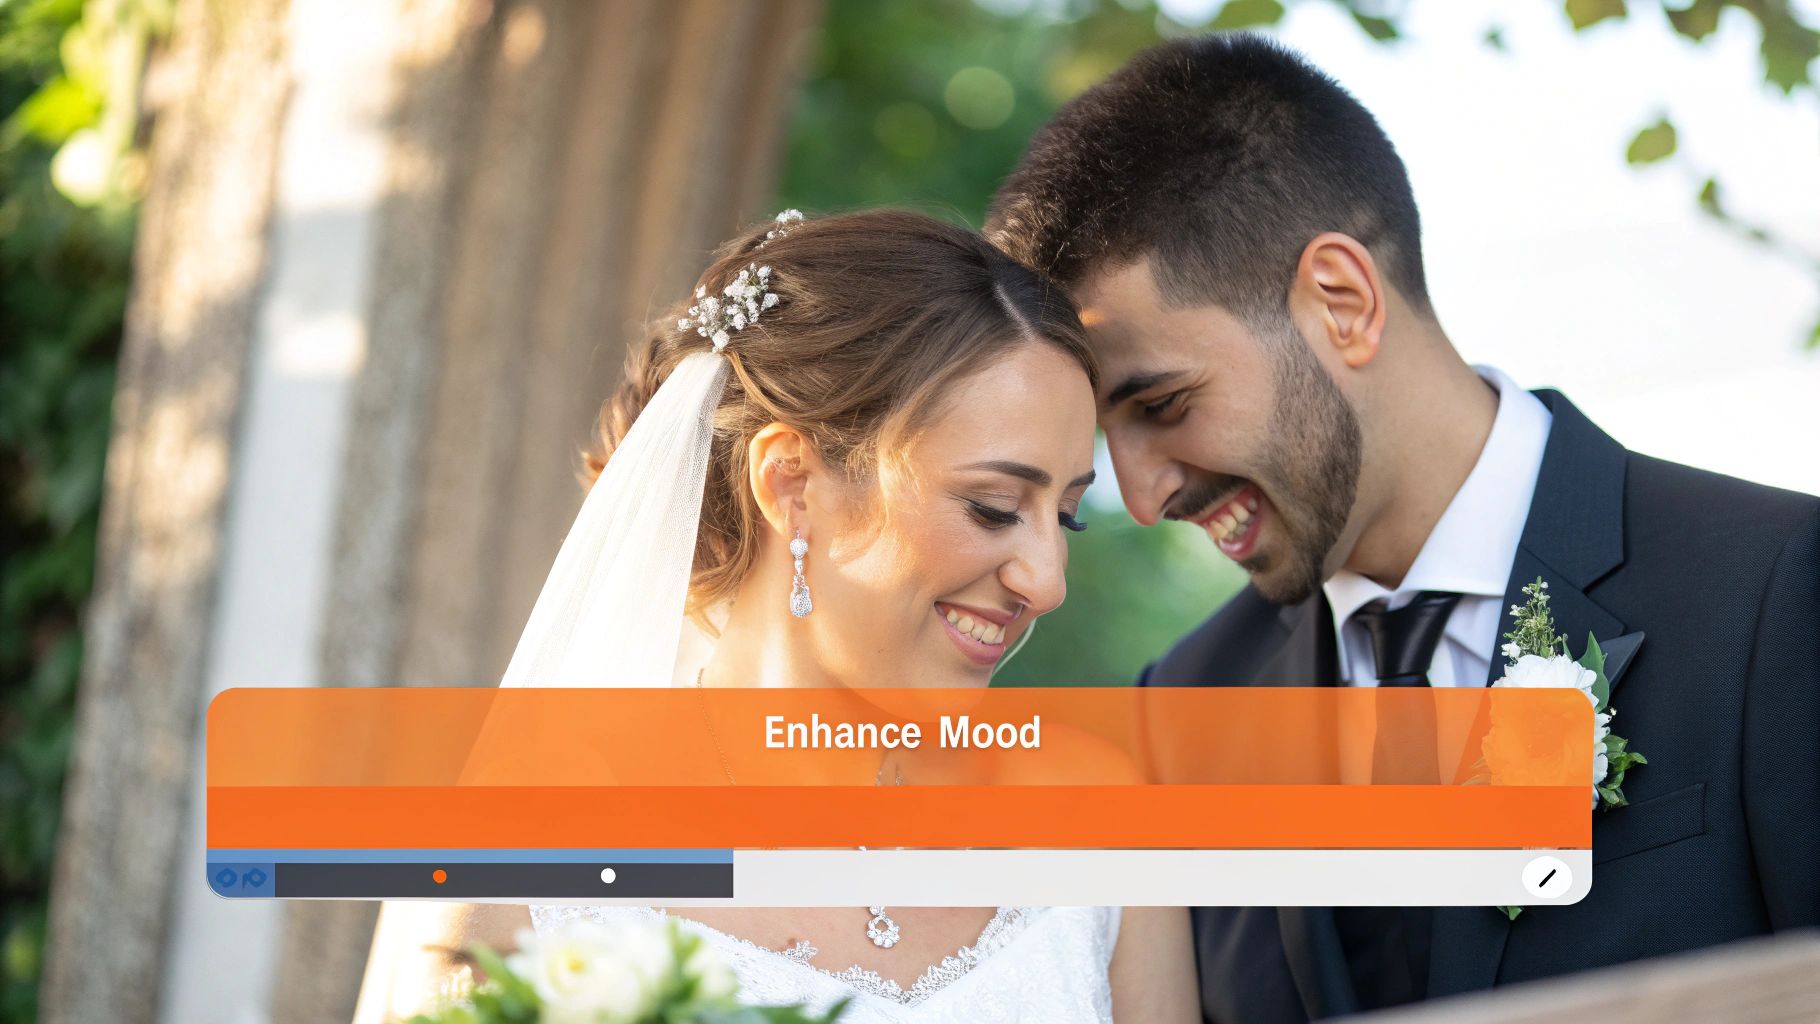
Once you nail a look you love on one photo, the real test begins. Apply those same settings to a bunch of different images from the same wedding. Does the style hold up in different lighting? Does it actually enhance the emotion of the moment, or fight against it? This is the grind. This testing and refining is what turns a simple edit into a true signature style, elevating your wedding editing photos from just good to truly unforgettable.
Retouching Portraits for a Natural Finish
Okay, you’ve nailed the color grade for the whole gallery. Now it’s time to get up close and personal with the most important shots—the portraits. This is where your detailed work can really shine, making the couple look and feel like the absolute best versions of themselves. The goal here is subtlety. We're aiming for a polished, natural look, not a plastic, over-edited finish.
Thoughtful portrait retouching is a non-negotiable part of my wedding photo workflow. It’s all about enhancing what’s already there, not completely changing someone's features. Think magazine-quality, but still completely real and authentic.
This attention to detail is what turns a great photo into a breathtaking family heirloom. It shows your clients you truly care about how they’re presented.
Keep Skin Looking Like Skin
One of the most common mistakes I see is over-smoothing skin until it looks fake. When you erase every pore and bit of texture, you lose all the realism. Don't do it. Instead of a heavy-handed approach, I recommend a technique called frequency separation.
This professional method is a game-changer. It lets you separate the skin's texture (the high frequencies) from its color and tone (the low frequencies). This way, you can smooth out blotchy color or tone down blemishes without destroying the natural pores and fine details that make skin look like, well, skin.
For quick fixes, the healing or spot removal brush in Lightroom or Photoshop is your best friend. I use it to clean up temporary issues like:
- A stray blemish that popped up on the wedding day.
- A small scratch or an unfortunate bug bite.
- Lint or a loose thread on a suit jacket or dress.
The idea is to remove minor, temporary distractions that aren’t a permanent part of who the person is.
Make the Eyes and Smile Pop (Gently!)
The eyes are everything in a portrait. A few careful tweaks can bring them to life without looking overdone. I usually add a touch of brightness to the irises to make them sparkle and subtly sharpen the eyelashes for a little extra definition. You can also whiten the sclera (the whites of the eyes), but be super careful here. Go too far, and it instantly looks fake.
The same rule applies to teeth whitening. A little goes a long way to enhance a joyful smile. The key is to dial back any yellow tones, not to make them glow-in-the-dark white. A natural off-white always looks more believable.
Retouching should be invisible. The best work is when a client says, "I look amazing!" not "Wow, you edited this photo a lot!" It’s about creating confidence through subtle enhancements.
Clean Up a Messy Background
Every now and then, a perfect moment gets photobombed by something distracting—an ugly exit sign, a random guest wandering through the frame, or a piece of trash on the ground. This is where a tool like Photoshop’s Content-Aware Fill becomes your secret weapon.
With a quick selection, you can tell the software to remove the distracting object, and it will intelligently fill the space with pixels from the surrounding area. It’s like magic for cleaning up your compositions and keeping the focus locked on your couple.
Of course, getting your shot right in-camera is always the best way to minimize these problems later. Nailing the lighting from the get-go can prevent a world of headaches in post-production. For a refresher, check out these 10 essential wedding photography lighting tips to improve your shots on the day.
Optimizing Your Editing Workflow with Smart Tools
Okay, let's talk about the real work. After you've culled thousands of wedding photos and nailed down your color style, you're faced with a mountain of editing. The goal is to apply those edits consistently across hundreds of images without chaining yourself to the desk for days. This is where you learn to work smarter, not harder.
The secret to conquering a wedding gallery is batch processing. This isn't just a fancy term; it's the core of an efficient workflow, and software like Adobe Lightroom is built for exactly this. Once you perfect the edit on one key photo from a specific lighting situation—say, a shot from the bridal prep room—you can copy and paste those settings across every other photo taken in that same environment. What would take hours of manual tweaking now takes seconds.
Building Your Own Time-Saving Presets
You can buy presets, and they're a fine starting point, but creating your own is a total game-changer. A custom preset isn't just a filter; it’s your unique artistic signature, packaged into a one-click solution. Every time you finish an edit you love, take a moment to save those settings as a new preset.
Building a small, versatile library of your own presets is like creating a personalized toolkit for your most common scenarios. You'll end up with go-to solutions for recurring lighting challenges. For example, you might have:
- "Golden Hour Portraits" for that perfect warm, soft-lit glow.
- "Indoor Tungsten Fix" to instantly correct the harsh orange tones from reception hall lighting.
- "Crisp Detail" a preset specifically for those macro shots of rings, flowers, and decor.
These custom tools slash your initial editing time and give you a consistent foundation that you can then fine-tune for each image. It's all about creating a system that's both repeatable and reliable. To really level up, you should always be looking for ways to improve workflow efficiency and streamline your entire post-production process.
The Growing Role of AI in Editing
Beyond your custom presets, AI-powered tools have become an indispensable part of a modern wedding photographer's toolkit. These smart features can automate some of the most monotonous and time-consuming tasks we face. Modern editing software can now automatically select a subject or a sky, letting you make targeted adjustments without spending ages on tedious manual masking. Some tools can even suggest which photos to cull or apply automatic exposure corrections to get you started.
Using AI doesn't mean giving up artistic control. It means automating the boring, technical stuff so you can pour more of your creative energy into the decisions that actually define your style and tell the couple's story.
This focus on an efficient, high-quality workflow has a direct impact on your business's bottom line. In fact, data from the 2025 State of the Photography Industry survey revealed that photographers who offer in-person viewing appointments after the wedding can see revenue bumps of up to 20%. A faster, smarter editing process frees up your time to focus on high-value client experiences like that. You can dig into more of these business strategies by exploring the full industry survey.
Delivering and Sharing Photos Like a Modern Pro
Here we are, the final step in your wedding editing photos workflow: the delivery. After all the culling, color grading, and careful retouching, how you hand over the finished gallery is your last chance to really wow your clients. A simple download link gets the job done, sure, but it completely misses the mark on providing a memorable experience that sets a true professional apart.
Let’s be real—today’s couples live and breathe digital. The global wedding photography market, valued at a massive USD 23.36 billion in 2024, is all about integrating technology. Your clients are already using apps and digital tools for everything else, so a clunky delivery process just feels dated. You can explore the full insights on wedding photography technology trends to see just how big this shift is. Your photo delivery should match that modern expectation.
Beyond the Download Link: Crafting an Interactive Experience
The future of photo delivery is all about creating an interactive, community-focused hub. Instead of just sending your beautifully edited gallery, what if you could give your clients a single, elegant place for every photo from their day? That includes your shots and all the candid moments captured by their guests.
This is where app-free, QR code solutions really shine, offering incredible ease of use.
The process for seamless consolidation of photos couldn't be simpler. You give the couple a unique QR code for their private online gallery. They can share this code everywhere:
- On Invitations: Pop the QR code on the save-the-dates or invites to get guests excited about the photo-sharing plan from the start.
- At the Venue: Display your event’s QR code at the venue entrance or on invitations for instant photo uploads. Think signs at the gift table, the bar, or even on individual place cards.
- During the Reception: Have the DJ or emcee flash the code on a screen while making a quick announcement.
Guests just scan the code with their phone. With no app to download and no account to create, a webpage opens right up, allowing for instant photo uploads straight from their camera roll.
This simple addition transforms your service from delivering a static gallery to facilitating a living, breathing album of the entire celebration, captured from every possible angle. It’s an effortless way to consolidate memories.
Versatility for Every Occasion
While this is a game-changer for weddings, the beauty of this system is its versatility. Any gathering where people are making memories can be elevated with a simple QR code.
Think about how you could use this for other events you shoot:
- Birthday Parties: Effortlessly pull together all the photos from a milestone 30th or 50th birthday bash.
- Corporate Gatherings: Create a central hub for images from a company retreat, holiday party, or team-building event.
- Family Reunions: Build one shared album that multiple generations can easily contribute to and enjoy.
This modern approach to photo delivery adds serious value to your packages, making the whole process of collecting and sharing memories fun and frictionless. You’re not just providing a folder of images; you’re delivering an experience. For a deeper dive into organizing all these new assets, check out our ultimate guide to digital wedding photo management.
Your Wedding Photo Editing Questions, Answered
Once the confetti settles and the last dance ends, the next thing you'll be excited for is the photos. But what actually happens between the wedding day and gallery delivery? Let's pull back the curtain on some of the most common questions photographers get about the editing process.
How Long Does Wedding Photo Editing Usually Take?
You can generally expect your full wedding gallery back within 4 to 8 weeks. That might feel like a long time, but there's a good reason for it. This window gives your photographer the space to do their best work without rushing.
They're culling thousands of images, carefully color-grading each one for a consistent look, and giving special attention to retouching your most important portraits. It's a detailed, creative process that just can't be hurried. To hold you over, many photographers will send a small "sneak peek" gallery of highlights within a week or so!
What’s the Difference Between Editing and Retouching?
It’s easy to mix these two up, but they serve very different purposes. Think of it like this: editing is for every photo, while retouching is for a select few.
- Editing (or Color Grading): This is the magic that creates your photographer's signature style. It’s applied to every single photo in your final gallery to adjust things like color, brightness, and contrast. This ensures the entire day, from getting ready to the final send-off, feels cohesive.
- Retouching: This is the detailed, fine-tuning work. It's usually reserved for your "hero" shots, like close-up portraits. Retouching might involve removing a temporary skin blemish, cleaning up a distracting element in the background, or subtly smoothing skin to make you look your absolute best.
So, every photo gets edited for style, but only key portraits get that extra level of detailed retouching.
Can I Request Certain Photos in Black and White?
Absolutely! Most photographers are happy to convert some of your favorites to black and white. The best way to do this is to wait until you have your full-color gallery, pick out the images you love, and send the file numbers over to your photographer. A classic black and white can bring a totally different, often more emotional, feel to a photo.
How Does a QR Code for Guest Photos Actually Work?
This is hands-down one of the simplest and most effective ways to collect all those amazing candid moments from your guests. The ease of use is its best feature.
A unique QR code is generated just for your event, which links directly to a private online album. You can then display your event’s QR code at the venue entrance or on invitations for instant photo uploads.
Guests just point their phone's camera at the code—no app download is required. Their phone automatically opens a webpage where they can upload photos and videos straight from their camera roll. It’s a brilliant and seamless way to consolidate everyone’s pictures in one place, and it works just as well for birthdays, corporate gatherings, or family reunions.
Ready to effortlessly collect every photo from your big day? With WedPicsQR, you can create a personalized, app-free photo-sharing experience in minutes. Get your unique QR code today and ensure no memory gets left behind.